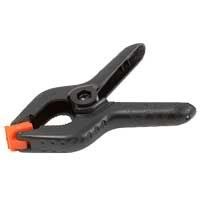
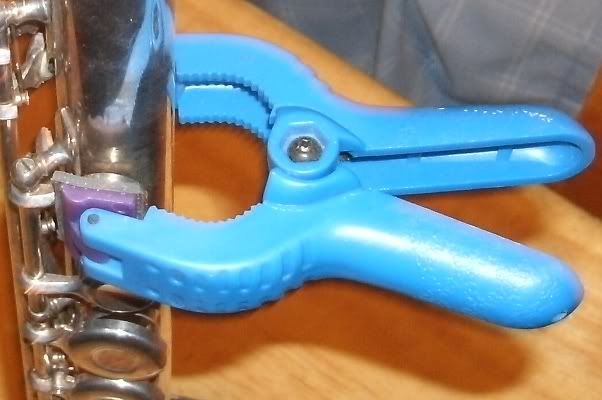
Lately I have been working a lot with spring clamps that you can get through hardware or crafts stores, and a week ago, hit on the idea of using those to solve this sealing problem with this flute I re-padded.
So I took one clamp of the appropriete size and clamped the key's pad cup down against the main tube, to compress the pad contact point on the rim of the hole tube that sticks up from the main tube.
I know from reading that there is a similar type process commonly used by technitions who do re-padding, where they take a set of metal clips to press down the keys, then stick the whole thing in an oven for a certain amount of time to set the contact area to match the holes.
There are some people who feel this method damages some of the natural resiliancy of the pad. I thought if I just clamped the keys and instead of heating it, left the clamp in place for a week, it would have the same sort of effect but without the damage.
I just a little while ago removed the clamp and sure enough, there is a nice circular imprint on the sealing surface of the pad, which I think will solve the problem I found months ago, that had caused me to stop my project to give it further reflection.

Now, with what looks to be a successful pad seating, I am proceeding on by clamping one key at a time to where after so many weeks I will have them all done. It should be readily apparent that there is a reason why this is not a standard practice, taking a rediculously long time to complete. I do have the advantage of having collected several flutes back when I went on my buying spree on eBay, after being told my old and worn flute of so many years was not worth fixing. I have three fully functional flutes I can use while getting this old Armstrong back to working condition. Maybe a long-term project but one I feel is worthwhile, being what I consider it a flute which was well crafted for its time, with the entire body of the flute made from silver. The next best thing to that which I own is my Artly with an all silver head.


